Background

Showing posts with label Stampin' Up. Show all posts

Wednesday, November 6, 2013

Sympathy Card

I took a (small) break from soaping to make a sympathy card for a friend who just lost her Mama. :(

You would think with all of my card classes I would have some already made, but I obviously steer away from the sad ones and stick to the fun ones.

So off I went on a Google search for the stamp set I wanted to use (Elements of Style) and one of my favorite card making blog sites Krafting Kreations used this set a couple years ago on this card and I used that as my inspiration...this is what I came up with.


Hard to tell in this photo...I embossed and lifted up the bird and the wording...and there are 3 little rhinestones in the lower right hand corner.


Sunday, September 22, 2013

Happy Autumn

Today is the first day of Fall. I love Fall, it is my favorite time of year. That crispness in the air...opening the windows and doors to air out the house...the lower electric bill! lol

This weekend I was going to take the day off from soaping and just make cards, so I made my Fall cards. Oh trust me...there was still some soap made...just cant help myself I guess. But we will save the soapy posts for later in the week, today is all about Fall...and today it is gusting in and saying hello in a big way here in Arizona. Funny to be 100 degrees yesterday, and today it is 75 and very windy. Gotta love it.

I looked online in search of a Fall card to CASE, but I couldn't find anything I could work with. There were some I liked...but I cannot believe I don't have one single leaf stamp...going to have to remedy that. So I put my creative hat on and went to work and here is what I came up with.


I made a card and matching post it note holder. I still have to get the mini pens to complete the set, but the hard part is done.


All products used today are Stampin' Up...To make the card I first sponged around the edges of Whisper White with Early Espresso ink. Then I ran a 1-1/2 inch wide strip of Crumb Cake colored paper through my Big Shot with the Woodgrain embossing folder and then I sponged Early Espresso ink on it to bring the wood grain to life.

I stamped a tree branch from the Out on a Limb stamp set and punched Fall colored leaves using the Bird Punch. The owl on the limb is lifted up with dimensionals.


The owls were made with the Owl Punch and DSP for their chests.

For the eyes the upper left owl has jewels, and the lower right owl has the medium sized eyes from the Owl Punch punched out with Crumb Cake colored paper and the pupils were markered in by hand.

I adhered the tree trunk on and then punched a 1-1/14 inch circle through the card...


...and I added the owl on the inside of the card to "peek-a-boo" through to the front.

Next up were the post it notes. I watched the tutorial video over at Dawn's Stamping Studio...Dawn makes it so easy to follow...I made 10 of them so fast.


I used the same owl as the card, using orange jewels I found at Walmart for the eyes. The paper is Pumpkin Pie topped with Crumb Cake paper that was run through the Big Shot with the Woodgrain embossing folder.


Here is an inside view of the post it note holder.

I love these so much, and I hope my recipients love them as well.


Monday, April 29, 2013

Thank You Cards

I had some down time recently, so I thought it was the perfect time to get caught up on making some thank you cards.
 
This first one is a regular sized card using Stampin' Up Vintage Verses set.


Then another regular sized "Hello" card using the Feeling Sentimental stamp set. (CASEd from Stamper Dog)


The rest are all 3x3 cards that I like to send with my online orders. (All CASEd from Dawns Stamping Thoughts Youtube videos, LOVE her stuff!!)


Which is your favorite?

Friday, February 8, 2013

January 2013 Card Class - 2 of 4

Next from Januarys card class is this wonderful vintage looking card, this makes a great card for a man.


I just love the newprint paper, and when you sponge around the edge with some color, it adds a great vintage look.

 
This stamp set "Feeling Sentimental" is also from the sale-a-bration catalog. The set includes a "celebrate" word stamp, a ferris wheel and an old fashioned phone booth...which makes me think of Dr Who (my moms fave show)
 

Wednesday, January 30, 2013

January 2013 Card Class - 1 of 4

January started with new card classes...and I was happy to get back into routine, I really enjoy card class night. We make four different cards once a month.

First up to show you is a cute "Get Well" card.


We used the bandaid stamp out of the Patterned Occasions stamp set, which isnt for sale, it is offered as a free set with a $50 order in the sale-a-bration catalog...so I better make an order before March 22 because this stamp is adorable, along with the other 4 stamps in the set.


Monday, October 1, 2012

Pumpkin Thank You Cards

I love making cards and tags and last year I made these cute pumpkin cards to put in with my pumpkin soap orders. They are fun, fast and easy to make.
Everything I use is usually Stampin Up products, so I first punched out a bunch of ovals out of Tangerine card stock, and I cut some green slivers and then some chunky brown pieces for the stems.


 Not sure if you can make it out in this picture, but I took some suede brown ink and sponged the edges to give the pumpkins some shadow and depth.
 
Next I assembled the pumpkins with adhesive and added the stems.

 
To make my cards I cut some white card stock at 3 X 6 inches, and then scored in half to have a 3 X 3 card where I stamped thank you using my teeny tiny wishes stamp set and then glued my pumpkin on...voila...how cute are these!!!


Tuesday, August 7, 2012

July 2012 Card Class - #3

This is a super sweet thank you card. 

We used the "Paper Doily" Sizzlets Die in the background.
I love this die, and as a helpful tip be sure to have a hat pin nearby to help pop out all the cut outs, but I think it makes it worth it as this doily goes really nice with the "Tea Shoppe" stamp set.

Monday, July 30, 2012

July 2012 Card Class - #2

This card I think was my favorite of the night. I usally find the simple ones to be the cards I like best...not because they are easiest to make, but because they are just clean and beautiful.


I love how a simple detail can bring a piece to life...like the "dew" on the leaves, just a couple drops of crystal effects makes a fun touch. Also added a lil bit of dazzling details around the flower centerpiece...because we all know glitter makes everything better. :)


The stamp set used is the Reason to Smile set and the greeting was stamped with white craft ink and embossed with white powder...I love embossing for a finished look.

Monday, July 23, 2012

July 2012 Card Class - #1

I havent been able to make card class the last 2 months...oh how I have missed it.

Here is card #1 of the month...a fun double pocket card that holds 2 bookmarks.


At first glance I thought this card looked hard to put together, but it was actually quite easy for me...but then to be honest my card class teacher was also kind enough to have the paper already scored for us. :)
So for you to make this yourself I have included a video tutorial from Patty's Stamping Stop of how to score your paper.


This makes a great card to pair with a book or jounal.


Stamps/Punches Used:
Blossom Petals Builder Punch (one of the petals to make the leaves)
Blossom Punch
Elegant Butterfly Punch
Scallop Circle Punch
Scallop Edge Border Punch
Both stamps used are from the Petite Pairs stamp set

Monday, January 23, 2012

January 2012 Card Class

Had another great card class...is there ever a bad one?? lol

This month we learned some new tricks...like this rosette. A lil tricky to get it turned, but I think when you do a few of these it gets easier...and the result is very pretty! We used the new Designer Rosette Bigz XL Die.


This was a nice simple card with coloring...Cathy made this one for us. It used the letterpress which I think is another tricky thing that takes some practice.


I love this birthday card and its "frosted" cupcake. This Sweet Cake will be a must have stamp set for me. :)


This was an easy Valentine card using the new framelit set...and I love the pleated ribbon.


Cathy made this birthday card...I guess she did all the coloring ones for us lol. This card used the new edgelets, which take some time to do it right...but the end result makes for a great card!


I love this new Elegant Bird Bigz Die, he makes for a great card, and with using the new labels framelit in the back with a brad....


It makes a fun and unique card!!


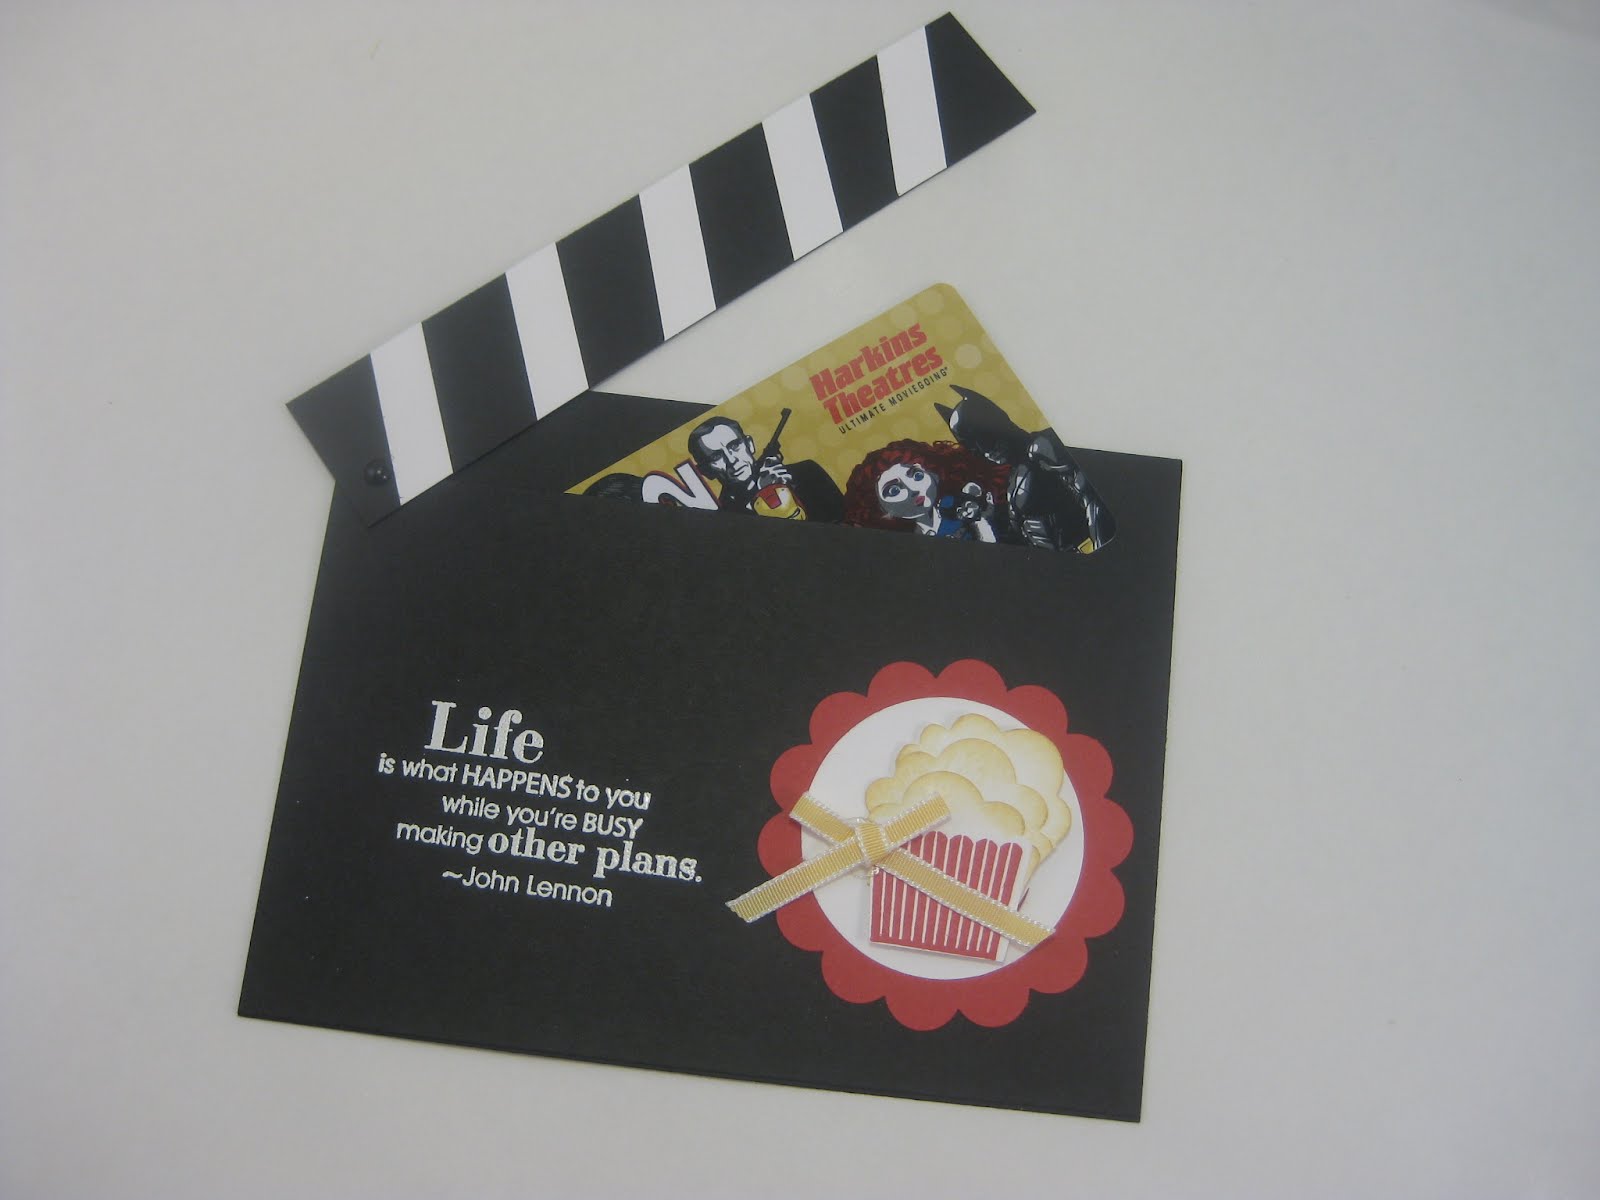
Now this card I LOVED! Looks like a movie action thingie....


And when you open it you find a pocket to insert movie tickets....We used the cupcake punch to make the popcorn.


Tuesday, August 23, 2011

August Card Class

Friday night was the card class for August. I seriously enjoy going to card class and learning new techniques and gabbing with my friends for a few hours. So much fun!! So here is what we made this month.....

I love the symplicity of this birthday card. It was a quick and easy one to put together and sometimes less really is more.


How totally cute is this overall card. We "white washed" the navy card stock to make it more denim like and then hand drew the "stitches". Another quick one even though it looks complicated.


I am seriously crushing on any cards with a distressed look. The red paper we ripped and sprayed with water and crumpled up, also got to use a fun new tool that sprays the marker ink onto the card. Fun card!!


And here is my fave for the night....you know I always save the best for last. Learned a fun new (to me) technique to get the trees mirrored like it is the reflection in a pond.


See the glitter....everything is better when it has some bling!! :)


Saturday, July 23, 2011

Cracked Glass Thank You Card


I wanted to try a technique called "Cracked Glass" that I read about at Krafting Kreations.
I used Stampin’ Up’s “Sense of Time” stamp set and stamped the clock with crumb cake ink onto vanilla cardstock and then cut it out.


Then I stamped versamark onto the image…


Added clear emboss powder and took the heat gun to it…


See how it is bumpy? So I versamarked and embossed 3 more times…


Now look how shiny and smooth it is….


Then I put it in the freezer for about 5 minutes, and bent it so it cracked


I sponged a little crumb cake ink very very lightly over it to fill in the cracks a bit to distress it some…


Don’t use black or apply it heavy….no good :(!!...


I am happy with the results and I think it is a neat technique that has endless possibilities...What do you think?